Pages

Friday, June 21, 2013

Standing Pallet {Garden}

Pallets, pallets, pallets! We all either have one or wish we had one so we could tackle one of those thousands of awesome pallet projects out there. Here is an easy project that does not involve power tools. Big smile on my face!


Please forgive my lack of photos. I totally wasn't thinking and forgot to take them while my husband and I were putting this together.

Materials needed:
  • A pallet
  • Weed barrier
  • A staple gun
  • Potting soil
  • Plants (Preferably trailing plans)


Step one:
Cover whatever side is going to be the back of your pallet with weed barrier, stapling it to each horizontal and vertical board. Staple around the bottom and the sides as well but leave the top open. Try to leave as little space as possible between staples so dirt does not fall through the gaps. You are essentially trying to make a "wall" on the back of your pallet.

Step Two:
Lay the pallet on the ground, back side down near the area in which it will be displayed. It will be hard to move once it is filled with dirt. Begin filling the pallet with soil between the slats, leveling out the soil with your hands or a trowel. 

Step Three:
Once you have filled the pallet almost completely, you may now begin planting your plants. Make sure to tightly pack the dirt around the plants. Any empty space will cause the soil to shift when you stand the pallet up. 

Step Four: 
Here's the sad part. Let you pallet rest flat on the ground for about a week so that the roots have time to establish. I know I was eager to stand mine up right away, but the soil will simply fall right out if you skip this step.

Once you feel as if your plants have had time to take root, you're ready to stand that baby up! I placed mine on some extra paver stones we had to add visual interest. At this point, you can also add flowers in the top area of your pallet. I haven't gotten there yet.

Now, watering can be a little tricky. You may tip your pallet down while you water which will allow you to water the dirt well without the soil going everywhere. I kind of cheat and just water it while it is standing up. I use a watering can and try to be gentle with the soil. I haven't had any problems. Once my plants had grown to a good size, it became increasingly easier to water them. Everything sort of stays in place.

As you can see in the photo, I have since added more plants to my garden. They grow well and are extremely easy to care for. Just remember to tip the pallet back down before you plant new flowers.

Have fun!


Lil\'Luna

Wednesday, June 12, 2013

Inspiration: Breakfast @ {Tiffany's}

A long-term project of mine that may never actually be completed is my craft room.  It currently stands as a storage room - a storage room for every decoration project, scrapbook item, and photo album I own.  In a word....A MESS!!  My hopes and dreams for this room have been put on hold for the three years that we've lived in our home. Not because I didn't want to deal with it but because there were so many other things vying for my time and attention (bedrooms, living room, front room, etc.) So I'm in the planning and dreaming and scheming stage...gathering items here and there and hoping that one day they will all fall together into a perfectly gorgeous space.

Anyone who knows me well knows I adore Audrey.  Other than possessing a talent for playing both dramatic and comedic roles with grace, elegance, and sophistication, she also owns her own unique style.  Gorgeous!  Her Breakfast at Tiffany's character Holly Golightly was all about over-the-top. Holly's apartment is a little too retro for my taste. I'm inspired more by her opulence and larger-than-life flare.

Some inspiration:


Can you see Holly seated here in her LBD?

This sofa it too adorable not to mention.  Although I love it,
it's a little out of my price range. 


Tuesday, June 11, 2013

Devos: {Biblical} Musings of an English Teacher


While bringing us a challenging message about Moses and his surrender to God's will, my pastor mentioned a verse in passing. "...I am that I am..." {Ex 3:14}  When Moses asked the Lord under whose authority he should tell the children of Israel he had come, God simply says to tell them I AM had sent him.

My English teacher brain began to dissect this verse, and I noticed something I hadn't before.  The section of the verse "that I am" is a noun clause. I is the subject, is is the linking verb linking the subject to the noun clause.  This noun clause is acting as the predicate nominative that has the job of renaming the subject.  So I am is being renamed by I am. How interesting.

This noun clause is the equivalent of the word God in the statement, "I am God" or the word Creator in "I am the Creator." The Lord makes a strikingly clear description of Himself when He says that HE IS!

"Who are You, Lord?"
"I am."
"What are You, Lord?"
"I am."

Wow! Only the Lord could come up with a description like that.  It's somewhat of a writer's dream to be able to characterize something so strongly in such a few number of words.

All that is holy, good, strong, righteous, just, kind, loving, and so much more, GOD IS!!

Hope this blesses your heart like it blessed mine.


Friday, June 7, 2013

Terrarium {Beauty}

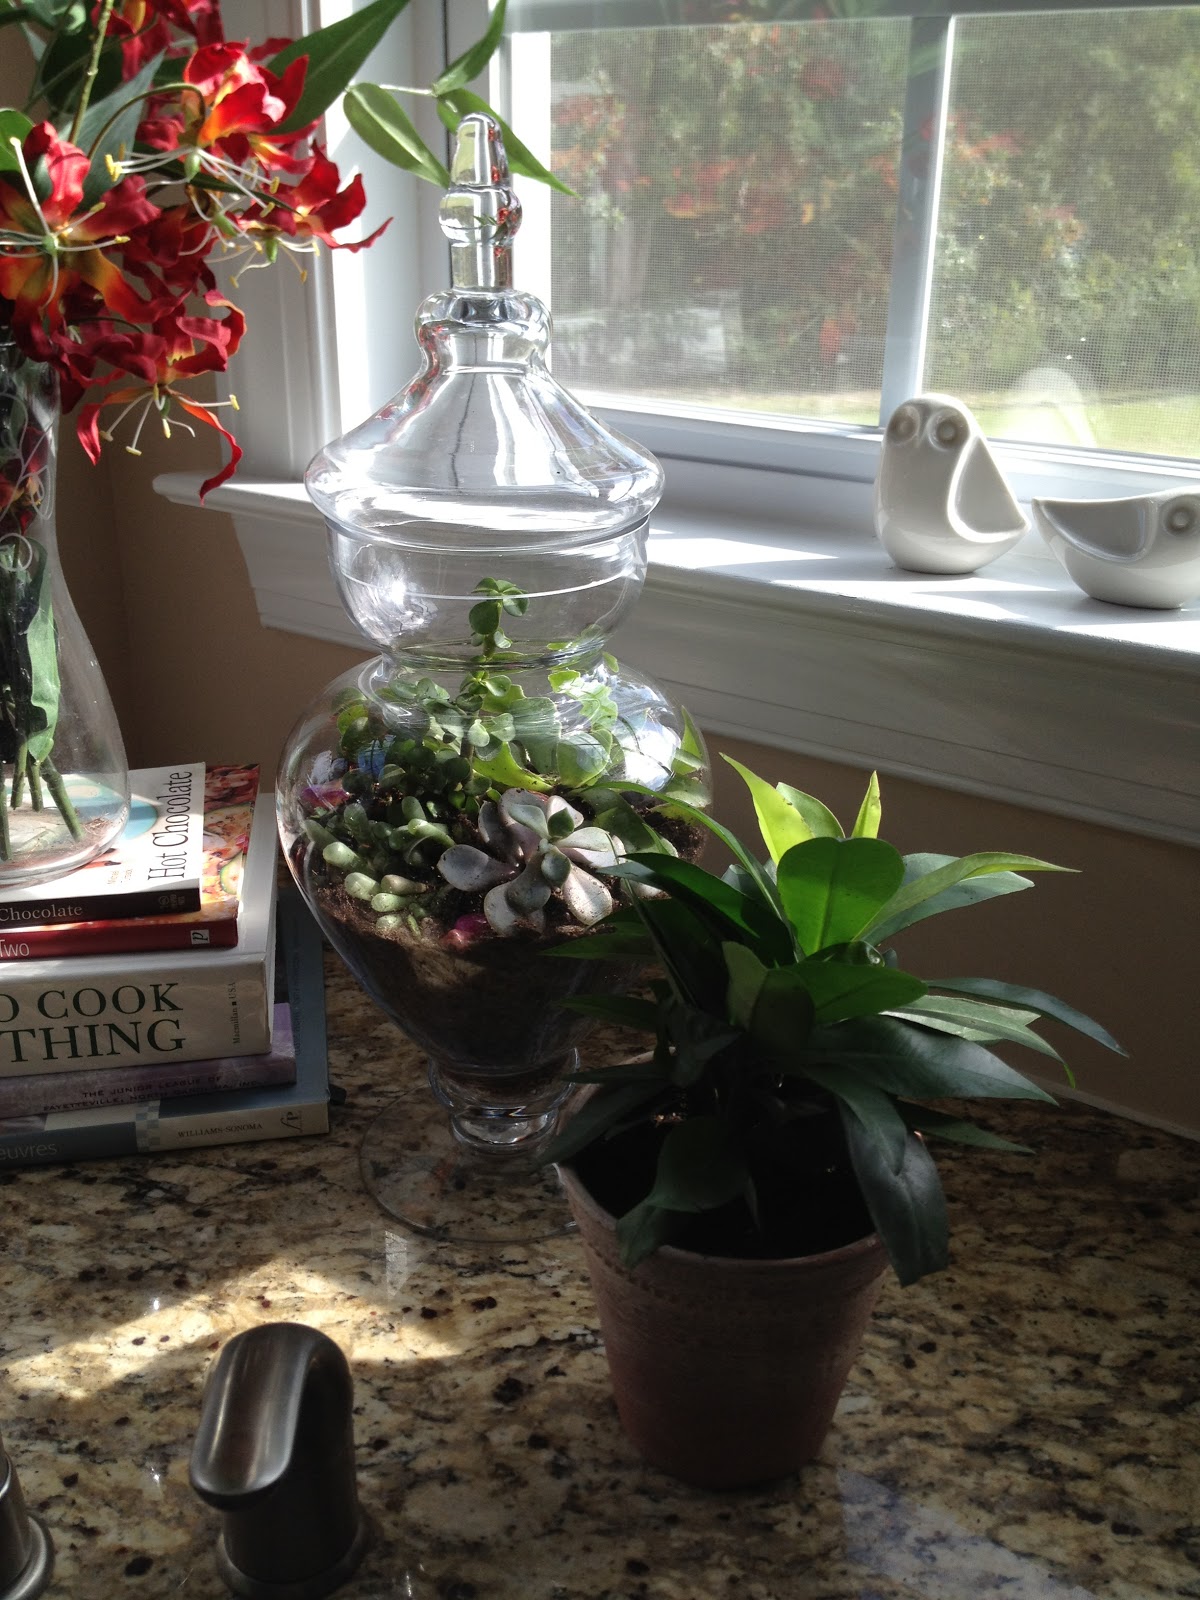
After seeing a variety of gorgeous terrariums online and in stores, I decided to take a crack at them. This was actually one of last year's projects, but I wanted to see how well they did over a long period of time before I posted anything about them.  I'm no expert and I've had several people tell me that theirs did not turn out well. 

Here's the final product: 


Materials You Will Need:
  • glass container 
  • rocks and stones as filler
  • activated charcoal
  • plants (succulents are my favorite and seem to do very well)
  • potting soil
  • preserved moss
  • decorative rocks (optional)


And here we go....

Step One:
Making sure that your glass jar is clean and dry, begin with about a one inch deep layer of preserved moss for drainage. I used craft moss that I just happened to already have. 


Step Two:
Add a layer of activated charcoal to prevent mold and odor.  This can be found in the aquarium section of most stores that carry pet supplies.


Step Three:
This step is not necessary but adds visual interest and additional drainage. Add a layer of rock. You can be creative here.  Large or small stones; colorful or neutral.  I wanted mine to blend in so I chose black aquarium rocks. (Sorry, didn't get a picture of this step.)

Step Four:
Add a layer of potting soil. Be sure to leave room for your plants.  I made the mistake of adding too much soil and then had to remove some once the plants were already in place.


Step Five:
Now for the fun part...plants! A bit of advice. Although apothecary jars are beautiful, I would suggest NOT using any that bottleneck.  VERY difficult to insert plants.  I had to use chopsticks!!  And I did some damage to the plants in the process. So use a container with a wide opening.


Succulents add an extreme amount of visual variety. 
They are so unique.


HARD!!


Final Step:
Add decorative elements. I used rocks that my hubby picked up in Arizona. 


And there you have it! It has been about ten months since I've put these together and they are still gorgeous.  There is no need to water them unless they begin to look extremely dry.  Because of the lid they water themselves. 

Occasionally trimming may be necessary.  I haven't yet had to trim my succulents, but I have had to snip the others. Try to keep the leaves from touching the sides of the container.  This will cause them to rot. 

One of the complaints I often heard about terrariums is the smell.  I have had no problems with that yet.  I mean, they smell like dirt but other than that, nothing.  


This guy was just too tall for the jars.
He also is doing great!


Friday, May 17, 2013

A Little Nest and a Bit {Yellow}


Happy warm weather to you all!  Here are some wreaths I whipped up in honor of these sunny, blue-skied days. I covered grapevine wreaths with various types of moss that I purchased at a craft store. I found these adorable nests at The Dollar Tree. The ribbon is chevron burlap also purchased at a craft store.  This project was a little messy with all of the moss flying around.  I used a glue gun to attach the moss which added to the craziness.  In the end, it was worth it : )  I love the way they turned out!


Enjoy the sunshine and get some projects done!!


Related Posts Plugin for WordPress, Blogger...